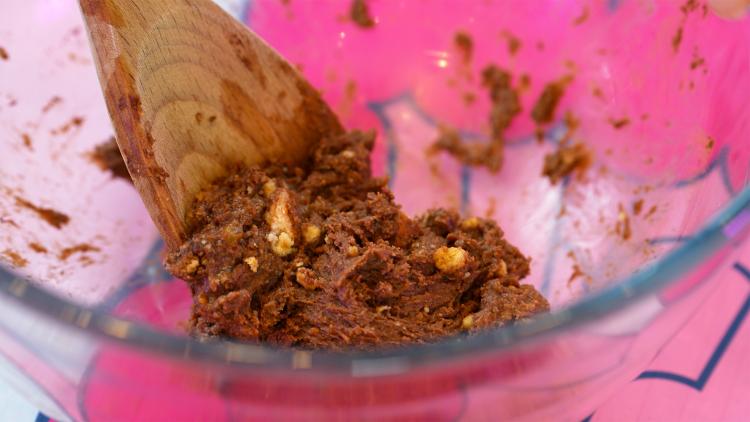
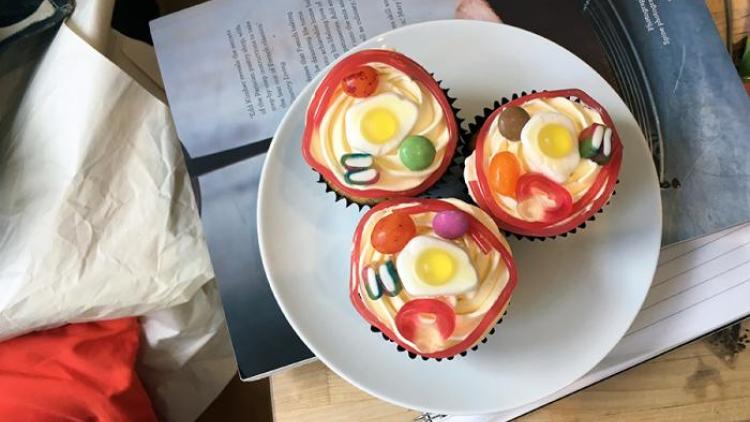
Make cell cakes
Make some cells using cupcakes, icing and sweets.
This activity will take 60 minutes, is for ages 7 to 10 with supervision needed.
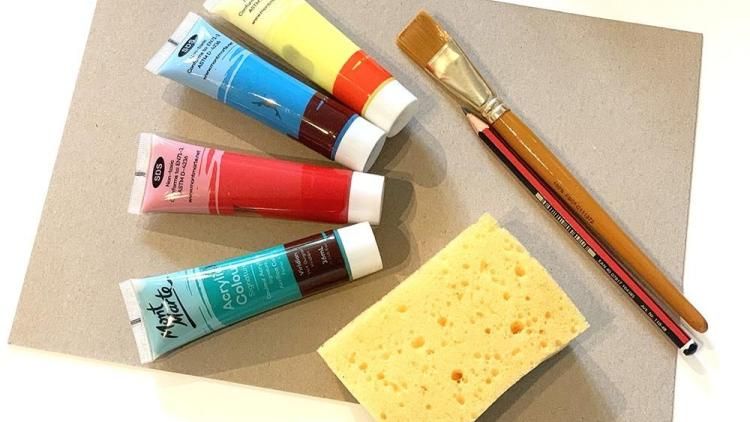
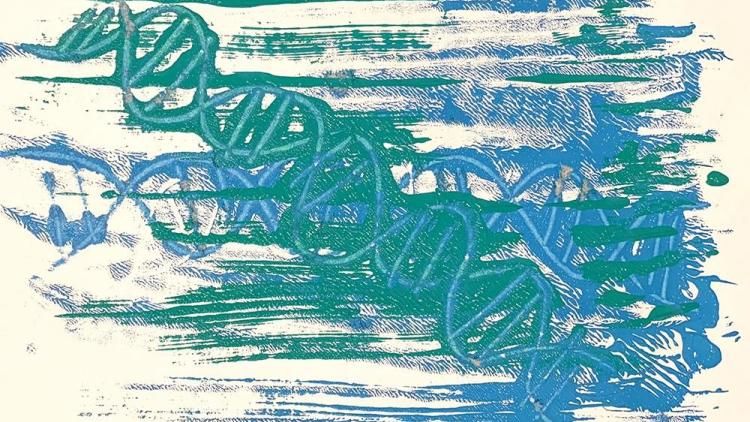
Monoprinting is a type of printing where each print you make is unique and can only be made once. You're going to be creating some monoprints of a picture that looks like DNA.
Our DNA is in a shape called a double helix, which looks like two threads twisting around each other.
Because you're drawing the design for the double helix each time you print the picture, you’ll see that it’s slightly different each time - that's what makes the monoprints unique.


Step 1 of 7
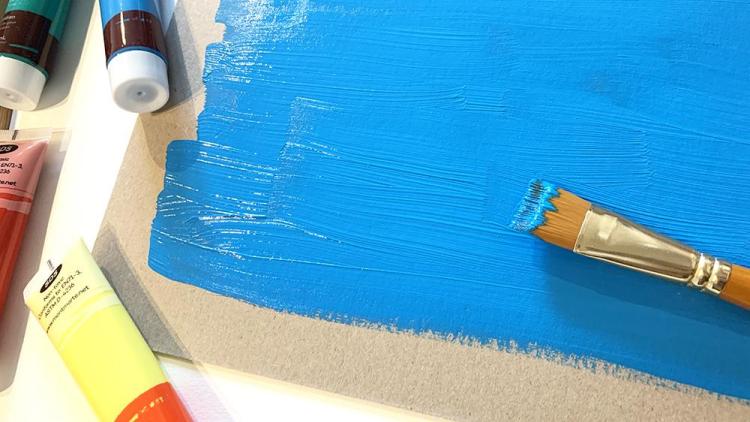
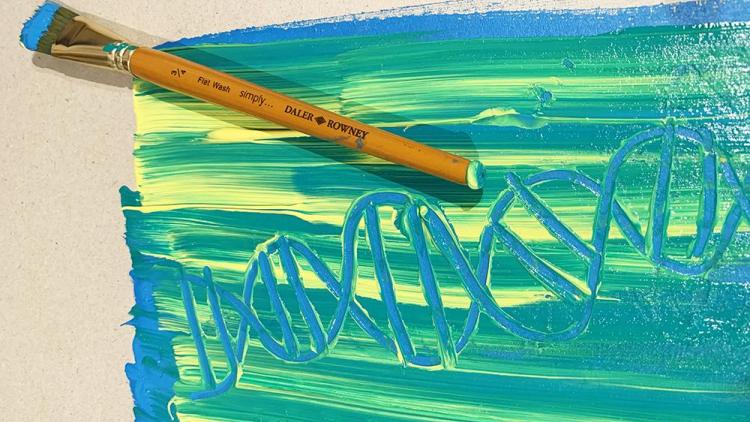
Choose a couple of paint colours to work with. Put your printing plate (card, plastic sheet or covered chopping board) on a flat surface.
Step 2 of 7
Make sure you don't get too close to the edges. If you paint right up to the edges, the paint will go everywhere when you press on it to print!
Step 3 of 7
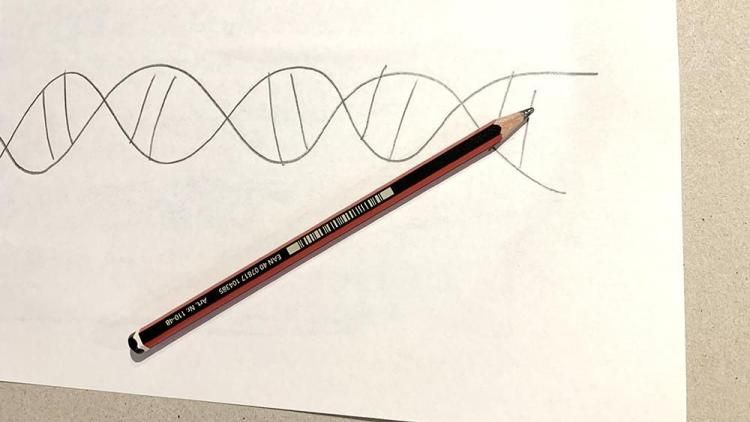
You're going to be drawing a design that looks like DNA - two twisted lines with lines in between them.
Step 4 of 7
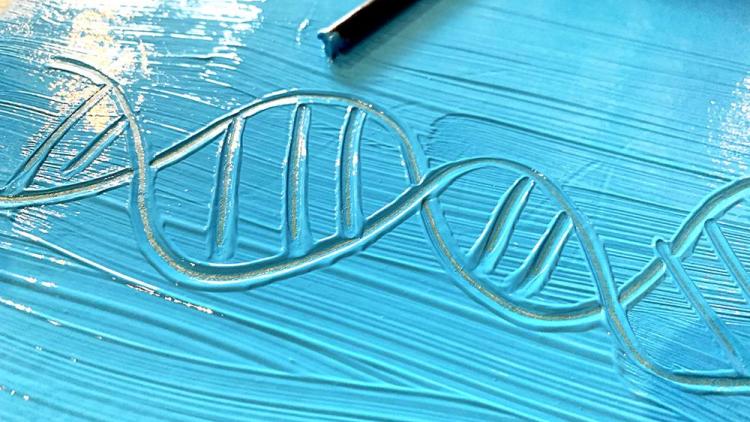
This will be like scratching into the paint. Top tip: make sure the paint is thick and that you draw into its surface before it dries out too much.
Step 5 of 7
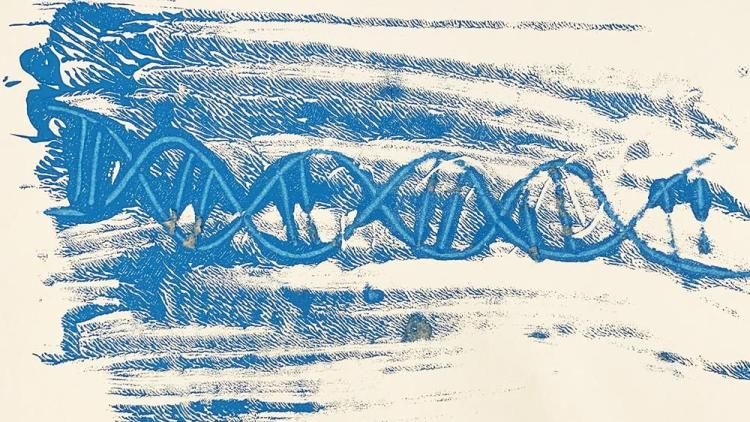
Give it a rub with the palm of your hand and make sure the whole design has transferred onto the paper. After a couple of seconds, lift it off to reveal your first print.
Step 6 of 7
Repeat this as many times as you like. Or you can wipe down your plate at any time to start fresh.
Step 7 of 7
Once you've tried putting one colour on your plate, mix it up and combine different colours. Although every print will be different, you'll be able to see bits of your previous prints in your new pictures.